MOTORCYCLE DECO KIT INSTALLATION TUTORIAL
Why choose a motorcycle fairing deco kit?
The motorcycle fairing deco kit can totally change the look of your bike. It lets you customize your bike so that it looks like no other!
Deco kit stickers and adhesives for fairings are easy to apply. Whatever the size or surface of the fairing, the procedure remains the same. Below you'll find a tutorial to help you install your motorcycle deco kit correctly. Find out how to apply your fairing stickers:
Materials needed to install your deco kit:
To install your fairing decoration kit, you will need :
- Patient (a lot)
- A day to install your decorating kit
- Soapy water or alcohol to clean your surface thoroughly
- Gloves (if you have delicate hands)
- Rags/paper towels
- A good pair of scissors
- A mounting bracket Available here!
Advice before installing your deco kit:
First of all, here are the precautions to take:
- Prepare a full day for the installation of your deco kit 🙂
- Sort the parts of the deco kit according to each side of the bike to help you find your way around later.
- Check that fairings are clean and smooth.
- Thoroughly clean and degrease each fairing with soapy water/alcohol. Do not use WD40 or other silicone products. Fairings must be perfectly clean to apply adhesives.
- Do not handle stickers on the glue side.
- If the deco kit is not installed immediately, store it away from sunlight and humidity.
- For installation, choose a heated room with a minimum temperature of 15°c, sheltered from wind and dust. It's also possible to heat the fairings before installing the deco kit, to ensure the adhesives hold well. If the temperature is too cold, the stickers won't adhere properly.
- After installation, avoid contact with cold and damp for 72 hours to ensure that the adhesive remains in place.
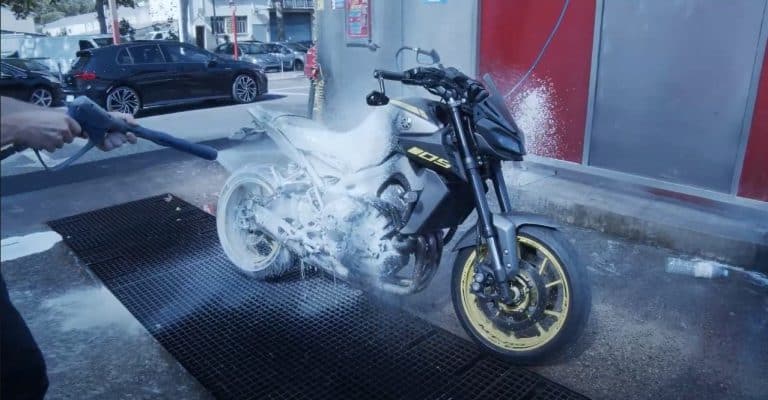
Application of deco kit stickers :
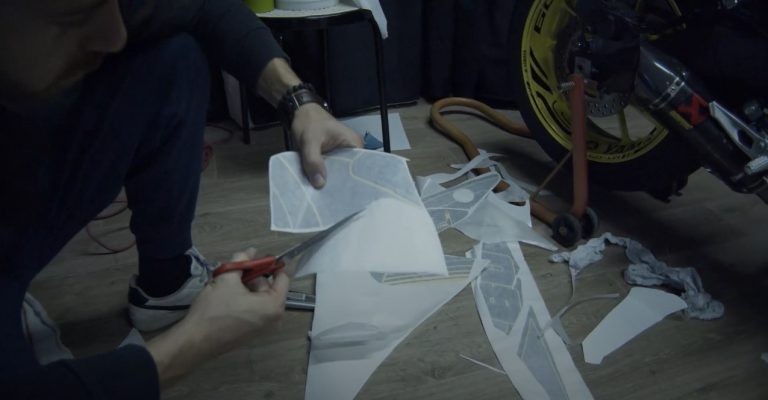
Before sticking the stickers, cut them out and pull them between the right and left sides of the bike, so you don't get lost.
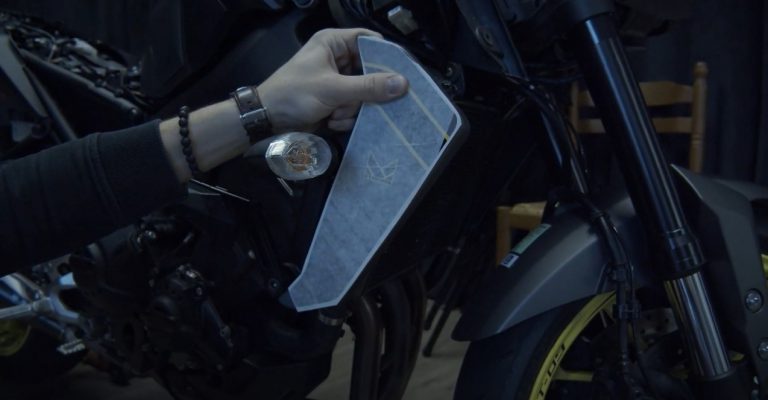
Then position the "white" ones in front of each plastic to see how to position each adhesive.
Remove the adhesive from its backing and stick it in place, working from one side to the other, expelling air as you go. If you're having trouble, don't hesitate to heat the stickers with a (powerful) hair-dryer or heat-stripper to make them more malleable. Be careful not to overheat!
Take your time to stick your deco kit straight on. Don't hesitate to unstick and re-stick if a sticker isn't positioned correctly. You can use your fingers and the squeegee to remove any air bubbles.
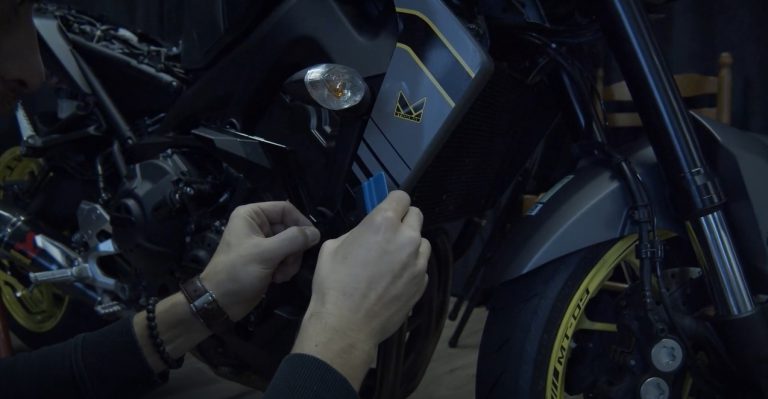
For easier installation on some fairings, we advise you to disassemble the part if possible. Then repeat the above operations.

Finalizing the deco kit :
Once you've applied the deco kit to all the fairings, you can heat each sticker to activate the bonding and cohesion with the substrate. Be careful not to burn the stickers! If air bubbles are still present, you can prick them with a needle, then heat the bubble and it will disappear.
Allow 48 to 72 hours for the adhesive to bond fully with the substrate.
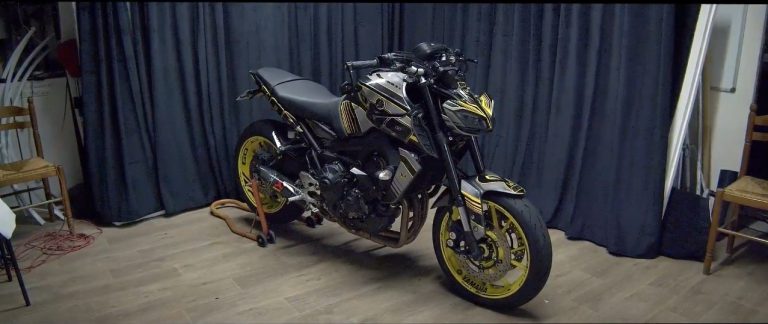
Don't hesitate to send us photos and videos of the results on the networks!
